
- Wait, Doesn’t This Game Never Shuffle?
- The Key: Pick One Corruption Handler
- The Team and the Nemesis Cards, Tier by Tier
- How Phaedraxa Builds Charges
- One Warning About the Handler Plan
- Tier 1 Unique Cards
- How Many Corruptions Can Pile Up in One Turn?
- Tier 1 Counterplay #1: Pick When You Attack Corrupter
- Tier 1 Counterplay #2: Don’t Let the Attacker Take Tempt’s Crystal Discard
- Tier 2 Unique Cards
- Tier 2 Counterplay: Kill Venomite Before Pain Sower
- Tier 3 Unique Cards
- Tier 3 Counterplay: Kill Ruin Priest Fast. Bedlam Sage Can Wait.
- The Supply
- The Stomach-Drop Moment: When Nothingness Hits
- Summary
Wait, Doesn’t This Game Never Shuffle?
If you’ve played Aeon’s End for a while, you know the deal: your deck never gets shuffled. That’s the whole charm. You plan your discard order, you know what’s coming, you build combos around it.
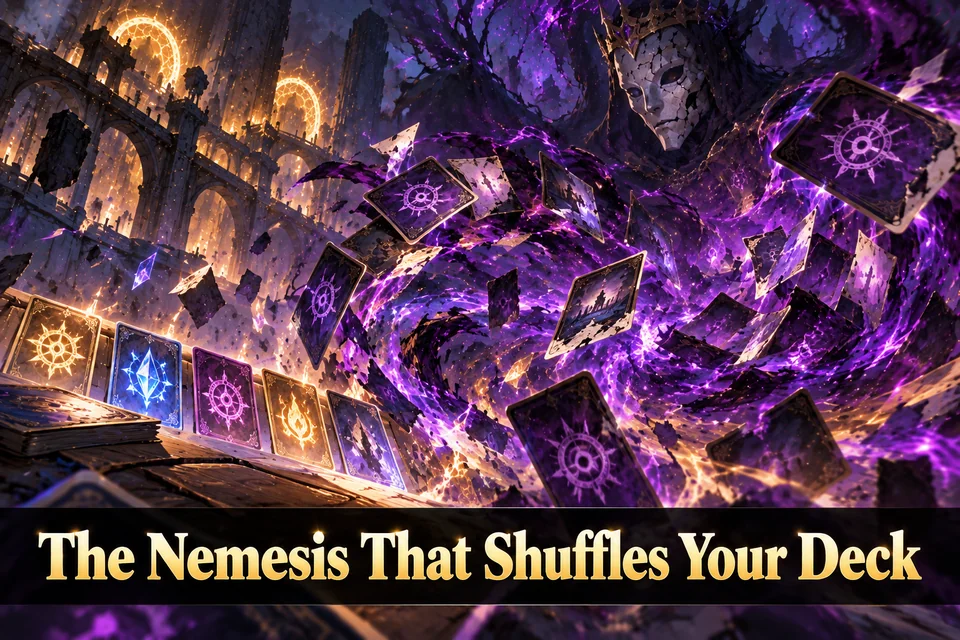
Then the Crooked Mask shows up and shuffles your deck anyway.
In a game where the order of your cards matters this much, getting shuffled is genuinely brutal. For anyone asking “what’s the Crooked Mask, and why does everyone groan about it?”, here’s how nasty it really is.
The Unleash Effect
Any player gains a corruption and places it on top of their deck. That player shuffles their discard pile into their deck.
On Increased Difficulty, when a corruption is destroyed, it goes into any player’s discard pile instead of back to the bottom of the corruption deck. I haven’t tried Increased Difficulty myself yet, but just reading that rule tells you it’s bad news…
What Are Corruptions?
Corruptions trigger all sorts of effects. Unlike Rageborne’s strikes, they aren’t only bad news. You still don’t want them going off, though.
There are rules for how corruptions are handled:
- When a corruption is destroyed, place it on the bottom of the corruption deck.
- When a player would gain a corruption and the corruption deck is empty, Gravehold suffers 2 damage instead.
- At the start of each player’s turn, before their casting phase, that player resolves all corruptions in their hand, in any order.
- At the end of each player’s main phase, that player resolves all corruptions they drew during their turn.
- Corruptions may not be played at any other time.
- When a player gains a corruption, they may not look at it unless it is placed into their hand.
In plain terms: a destroyed corruption just goes to the bottom of its deck and comes back later. If the corruption deck runs dry, Gravehold takes 2 damage instead. And you resolve corruptions before your casting phase, in any order you like.
Why the Order You Resolve Them In Matters
Here’s an example of how those rules work together.
One corruption, Dire Wisdom, makes you gain three more corruptions. Say you resolve it when only one card is left in the corruption deck. You can’t gain the other two, so Gravehold suffers 2 damage twice, 4 damage in total.
But if you have two other corruptions in hand, resolve those first. They get destroyed and go back to the bottom of the corruption deck, so when you then gain corruptions again, there’s enough in the deck and Gravehold takes no damage.
Depending on the corruptions you’re holding, thinking about the order you resolve them in is a big deal.
When Do You Gain Corruptions?
- When the Crooked Mask Unleashes
- When one of the Crooked Mask’s unique cards tells you to
- When a corruption itself tells you to gain corruptions
A corruption you gain ends up in one of two places: either on top of your deck, or on top of your deck followed by shuffling your discard pile into your deck.
All 11 Corruption Effects
I’ve left off “Destroy this.” since every corruption has it.
| Corruption | Effect |
|---|---|
| Reckless Might | Take a relic from a relic supply pile and place it on top of your deck. Suffer damage equal to half its cost, rounded up. |
| Dire Wisdom | Gain a spell from any spell supply pile. Gain three corruptions and place them on top of your deck. |
| Blind Abandon | Suffer 1 damage. You may destroy a non-corruption card in your hand. |
| Lust for Power | Suffer 1 damage. Gain 1 charge. |
| Fever of War | Suffer 1 damage. Deal 2 damage. |
| Contagion | Suffer 1 damage. Return a card that costs 0 Aether from your discard pile to your hand. |
| Insatiable Avarice | Suffer 2 damage. Take a card from the cheapest gem supply pile and put it into your hand. |
| Nothingness | Discard two non-corruption cards in your hand. Suffer 2 damage. Return one player turn order card from the turn order discard pile to the turn order deck and shuffle it. |
| Delirium Veil | Gravehold suffers 2 damage. Focus a breach once. |
| Grim Sight | Gravehold suffers 2 damage. Look at the top card of your deck; you may destroy it. |
| Endless Hunger | Gravehold suffers 3 damage. Gain 2 life. |
In exchange for taking damage, you get cards, deal damage, focus breaches, destroy cards, or gain life.
If you look on the bright side:
- Dire Wisdom is a chance to pick up an expensive spell.
- Insatiable Avarice is a chance to pick up an expensive gem.
- Grim Sight still works even if the top card of your deck is a corruption.
The Key: Pick One Corruption Handler

With the basic cards alone, you get this loop constantly:
Unleash → gain a corruption → shuffle
I tried to count how many times it Unleashes and gave up. There were just too many. It’s better to set up so you can handle Unleashing when it comes than to try to stop it.
In a 4-mage game, go ahead and pick one player to take the corruptions: your corruption handler.
If you’re running Chaos Arc or Diamond Cluster, the order of your cards matters. So have one of your healing or defense players take on the corruptions.
My pick is Phaedraxa. Her charge ability can prevent damage to Gravehold and to players. Fire it when a corruption is about to hit you with damage.
The Team and the Nemesis Cards, Tier by Tier

How Phaedraxa Builds Charges
The Unleash shuffles scatter the handler’s Diamond Clusters, so pick up Jade to make Aether instead.
Build charges before spells and the like, so her charge ability is always ready.
Also, if you don’t destroy cards and let the handler’s deck get bigger, you can lower the odds of drawing a corruption — only slightly, but still.
One Warning About the Handler Plan
If you don’t resolve corruptions often enough, Gravehold takes damage.
When a player would gain a corruption and the corruption deck is empty, Gravehold suffers 2 damage. Those 2-damage hits can add up more than the corruption effects themselves.
Tier 1 Unique Cards
Corrupter — minion, 6 life
When this minion suffers damage, the player who dealt the damage gains a corruption and places it on top of their deck. PERSISTENT: Gravehold suffers 1 damage.
If it shows up early in Tier 1, you’ll be torn about attacking it. Try to take it down with Sparks alone and you’ll gain six corruptions. Depending on when it shows up, weigh which hurts more: the PERSISTENT 1 damage to Gravehold, or the corruptions.
Burden
The players collectively gain two corruptions and place them on top of their decks. Any player focuses a breach once.
It says “the players,” so one player can take both corruptions. The breach focus could probably go to someone other than the handler too.
But the handler’s card order is all over the place, so they may not be able to focus their breaches the way they want. That’s why I recommend giving this breach focus to the handler.
Tempt
The player with the most Crystals in hand discards all Crystals in hand, suffers 3 damage, and gains a card from the supply that costs 4 Aether or less.
You pay 3 damage and your Aether to gain a 4-Aether card. It’s really rough when you have five Crystals in hand. Also note that “gain” means the card goes on top of your discard pile.
How Many Corruptions Can Pile Up in One Turn?
Corruptions come one at a time, and when the corruption deck runs out, Gravehold takes the damage. If you did nothing about the minions and power cards, how many corruptions could you end up gaining? In Tier 1:
Power cards
- Eye of Nothing: POWER 2: Unleash twice → 2 corruptions
- Woven Sky: POWER 2: Unleash. Any player suffers 4 damage → 1
- Agony Field: POWER 2: Unleash. Any player discards three cards in hand and then draws one card → 1
Attack cards
- Slaughter: Unleash. Gravehold suffers 3 damage → 1
- Skewer: Unleash. Any player suffers 3 damage and draws one card → 1
That’s 6 corruptions from attack and power cards alone.
Minion
- Bane Sire: PERSISTENT: Unleash → 1 every turn
There are 11 corruptions in total, and if both minions are in play, you gain 3 in a single turn.
Tier 1 Counterplay #1: Pick When You Attack Corrupter
When Corrupter shows up, attack it early, even if it’s just with Sparks.
But your attacker should hold off on hitting Corrupter until they’ve picked up Chaos Arc, so they can stack Spark and Chaos Arc. Here’s why:
- If you get Nothingness — discard two cards in hand — you won’t be able to buy Chaos Arc.
Your attacker takes V’riswood Amber on turn 1 to set up the Chaos Arc buy. If they hit Corrupter, a corruption slips into their next turn. If that corruption is Nothingness, the Chaos Arc plan is literally reduced to nothing.
If you wait until you can cast Chaos Arc, the earliest cast is turn 5. If Corrupter shows up first thing on turn 1, Gravehold can take up to 9 damage in a 4-mage game before Chaos Arc and Spark fire.
Meanwhile, the Gravehold damage from corruptions comes from Grim Sight for 2, Delirium Veil for 2, and Endless Hunger for 3.
If you attack with Sparks, you deal 1 × 4–6 damage from turn 2 onward, which means gaining 4–6 corruptions. The expected damage to Gravehold works out to:
| Corruptions gained | Expected damage |
|---|---|
| 4 | about 2.5 |
| 5 | about 3.2 |
| 6 | about 3.8 |
The three damaging corruptions add up to 7 damage across 11 cards, so the expected damage per corruption is 7 ÷ 11 ≈ 0.64. Calculated with Claude.
That’s less than the up-to-9 damage you’d take waiting for Chaos Arc, so attacking early looks like the better call. Damage to players can be healed with Brama’s charge ability.
Tier 1 Counterplay #2: Don’t Let the Attacker Take Tempt’s Crystal Discard
The attacker is counting on reliably buying Chaos Arc and Feral Lightning for steady damage. Have the corruption handler or the healing or defense player take Tempt instead.
Tier 2 Unique Cards
Pain Sower — minion, 11 life
PERSISTENT: Any player suffers 2 damage. A different player focuses a breach once.
You get to choose who takes the damage. Another player gets to focus a breach, so just think of it as a lucky break.
Vex
Discard the top two cards of the nemesis deck. For each tier 3 nemesis card discarded this way, Gravehold suffers 4 damage.
This one is pure luck. Pray it shows up early in Tier 2. It can deal up to 8 damage, so you need to keep Gravehold at 9 life or more. And if it does happen, look on the bright side: you just got rid of two Tier 3 cards.
Twisting Madness
POWER 2: Gravehold gains 3 life. The Crooked Mask gains 13 life. TO DISCARD: Discard four cards in hand and draw one card.
You can discard this by throwing away four cards from your hand. Have a player whose hand isn’t lining up well do it. And if it does go off, look on the bright side: Gravehold gets 3 life back — sure, the nemesis gets life too.
Tier 2 Counterplay: Kill Venomite Before Pain Sower
Tier 2’s unique cards don’t need much special handling, with one thing to watch out for: when Venomite — the player with the lowest life suffers 2 damage — shows up alongside Pain Sower.
Your players’ life will keep dropping. Attack it early.
Tier 3 Unique Cards
Bedlam Sage — minion, 14 life
PERSISTENT: Gravehold gains 2 life. The player with the most life suffers 3 damage.
If you have life to spare, this minion is actually a welcome sight. My personal rule of thumb: if the Crooked Mask is at 14 life or less, ignore it and go after the Crooked Mask. When Gravehold is running low, count it as a lucky break.
Side note: I couldn’t even read the Japanese name for this card the first time I saw it…
Ruin Priest — minion
PERSISTENT: Any player discards three non-corruption cards from their hand. That player gains three corruptions and places them in their hand.
The scary part isn’t really having to resolve three corruptions. It’s that it drains the corruption deck, which means Gravehold takes damage.
Afflict
Two different players each gain two corruptions and place them on top of their decks. Each of those players gains 1 life.
Personally, I like that two players each gain 1 life. But it also means gaining four corruptions, and for each one you can’t gain because the deck is empty, Gravehold suffers 2 damage.
Try having Phaedraxa and the player with the second-most life take the corruptions. The player with the most life is getting chipped away by Bedlam Sage.
Tier 3 Counterplay: Kill Ruin Priest Fast. Bedlam Sage Can Wait.
In Tier 3, Ruin Priest is the most dangerous card. Between Ruin Priest making you gain corruptions and the basic cards’ Unleashes, Jagged One included, the corruption deck runs dry easily.
Even if the Crooked Mask is down to around 15 life at this point, kill Jagged One and Ruin Priest first if they’re on the board.
Across Tiers 2 and 3, you’re sure to gain even more corruptions than in Tier 1. Keep up what you did in Tier 1: let the corruption handler resolve corruptions often enough so the corruption deck never runs out.
The Supply

Here’s the supply we won with:
| Type | Cards |
|---|---|
| Spells | Chaos Arc, Wildfire Whip, Feral Lightning, Lava Tendril |
| Relics | Bottled Vortex, Focusing Orb |
| Gems | Jade, V’riswood Amber, Diamond Cluster |
When to Destroy Focusing Orb for Gravehold Life
- Tier 1: You don’t need to at this point.
- Tier 2: Do it if you have one.
- Tier 3: Do it if you have one. It thins your deck, too.
Spreading Out Your Breach Focus
In Tier 2 you get chances to focus breaches, but it may be better not to pile them all onto one player. Tier 3 has the attack card Obliterate — the player with the most opened breaches destroys four cards in hand or suffers 4 damage.
The Stomach-Drop Moment: When Nothingness Hits
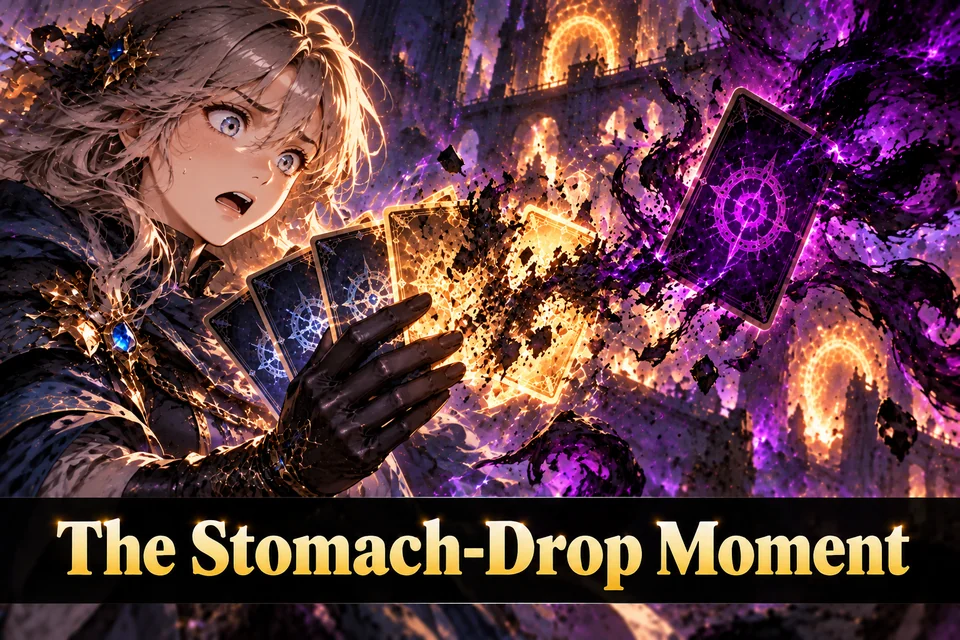
The moment the Crooked Mask really gets you is when a single corruption wipes out your plan.
Your attacker grabbed V’riswood Amber on turn 1, all set to buy Chaos Arc. Then Corrupter hits the board, they chip at it, a corruption slides onto their deck, and it’s Nothingness. Two cards out of your hand, and the Chaos Arc you were counting on is gone.
That’s exactly why the timing on Corrupter matters so much, and why everything in this matchup comes down to who takes the corruptions and when.
Once we stuck to that, the matchup changed. Recently, in a 4-mage game, Kadir, Jian, Brama, and Phaedraxa took the Crooked Mask down with the supply above.
Summary

- Pick one corruption handler. Phaedraxa is my pick; save her charge ability for when a corruption is about to deal damage.
- Order matters. Resolve corruptions in an order that keeps the corruption deck stocked, because every corruption you can’t gain costs Gravehold 2 damage.
- Keep the attacker clean. Don’t let them take Tempt, and hold off on Corrupter until Spark and Chaos Arc are in place, then take it down early.
- Minion priority: Tier 2 → Venomite before Pain Sower. Tier 3 → Ruin Priest and Jagged One first; Bedlam Sage can be ignored.
- Focusing Orb: skip it in Tier 1, use it whenever you have one in Tiers 2 and 3.
Tested in 4-mage mode with Kadir, Jian, Brama, and Phaedraxa. I haven’t tried Increased Difficulty yet, so mileage may vary there, but the core logic holds.

Comments